 Oval
Oval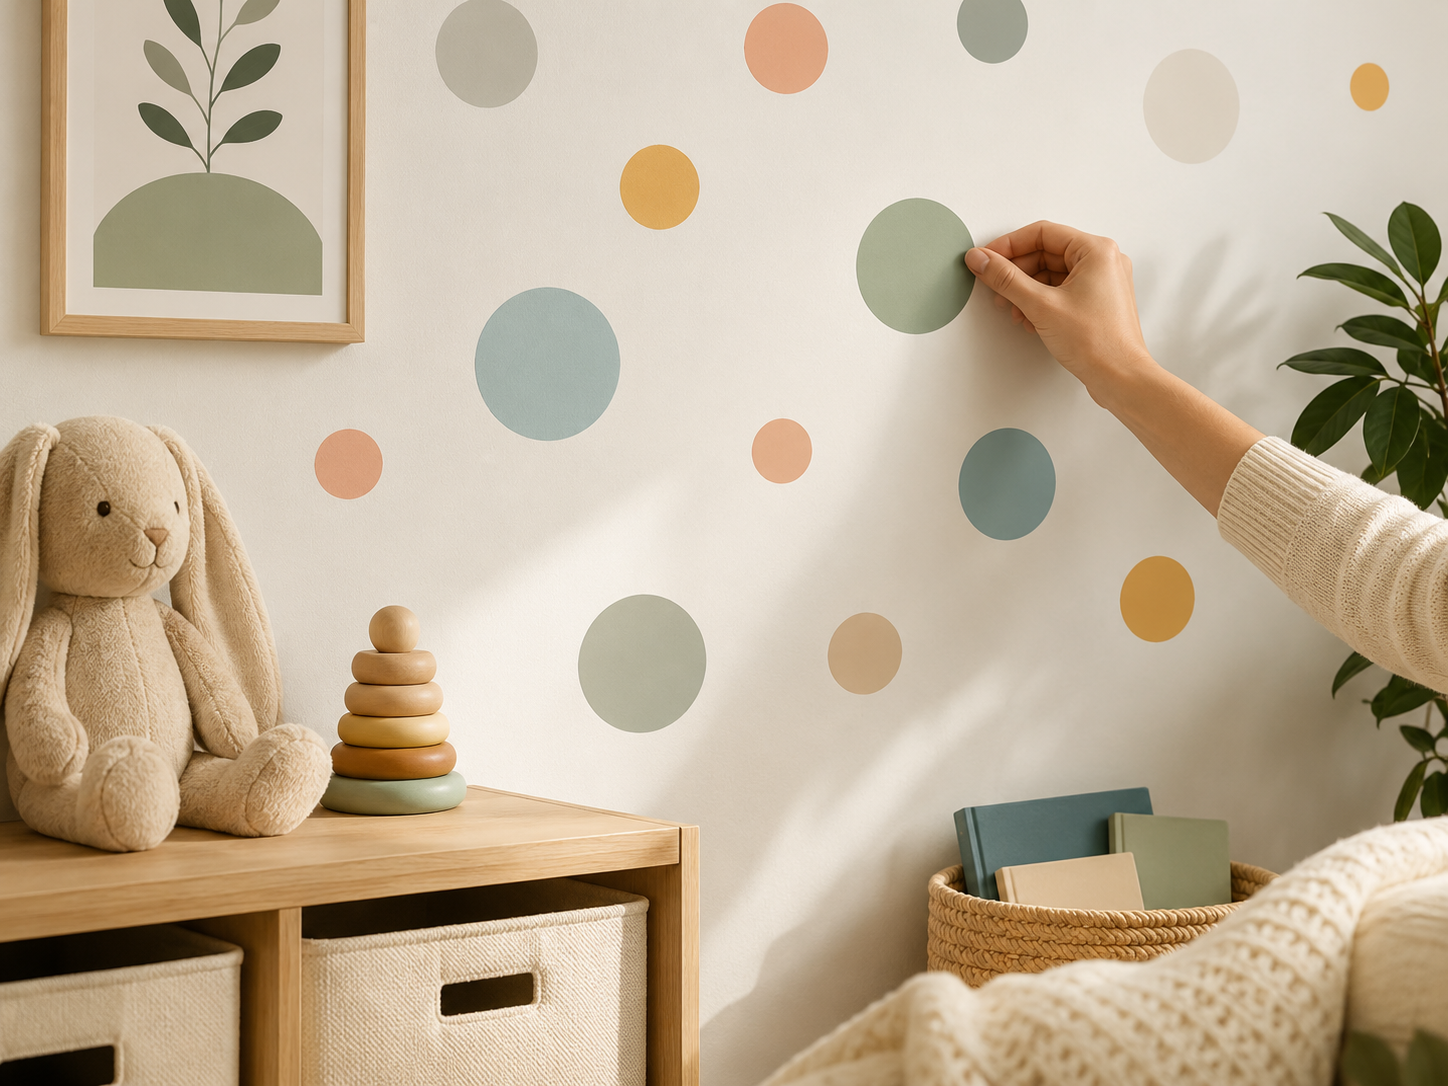
How to Apply Our Wall Decals Easy 3 Steps
You bought some beautiful wall sticker/decals. You definitely don’t want to mess up when sticking them to your walls. Here are the basics to sticking them properly. Be sure to follow the manufacturer’s instructions if they differ from the steps I have listed below. Installing your new wall decal is a simple process that will transform your space. Follow these steps for the best results: Materials You’ll Need:- Your wall decal
- A squeegee or credit card
- A clean, dry cloth
- Tape measure and pencil (optional, for precise positioning)
- Prepare the Surface: Ensure the wall is clean, dry, and smooth. Wipe off any dust or dirt with a dry cloth. If you have recently painted, wait at least 2-3 weeks before applying the decal.
- Position the Decal (Optional): Before removing the backing, place the decal on the wall and use painter’s tape to secure it in place. This lets you see how it will look and adjust the position if needed. Use a tape measure and a pencil to make sure it’s straight and level.
- Prepare the Decal: Lay the decal on a flat, smooth surface with the design facing up. Firmly rub the squeegee over the entire surface of the decal. This helps ensure the vinyl sticks well to the transfer paper.
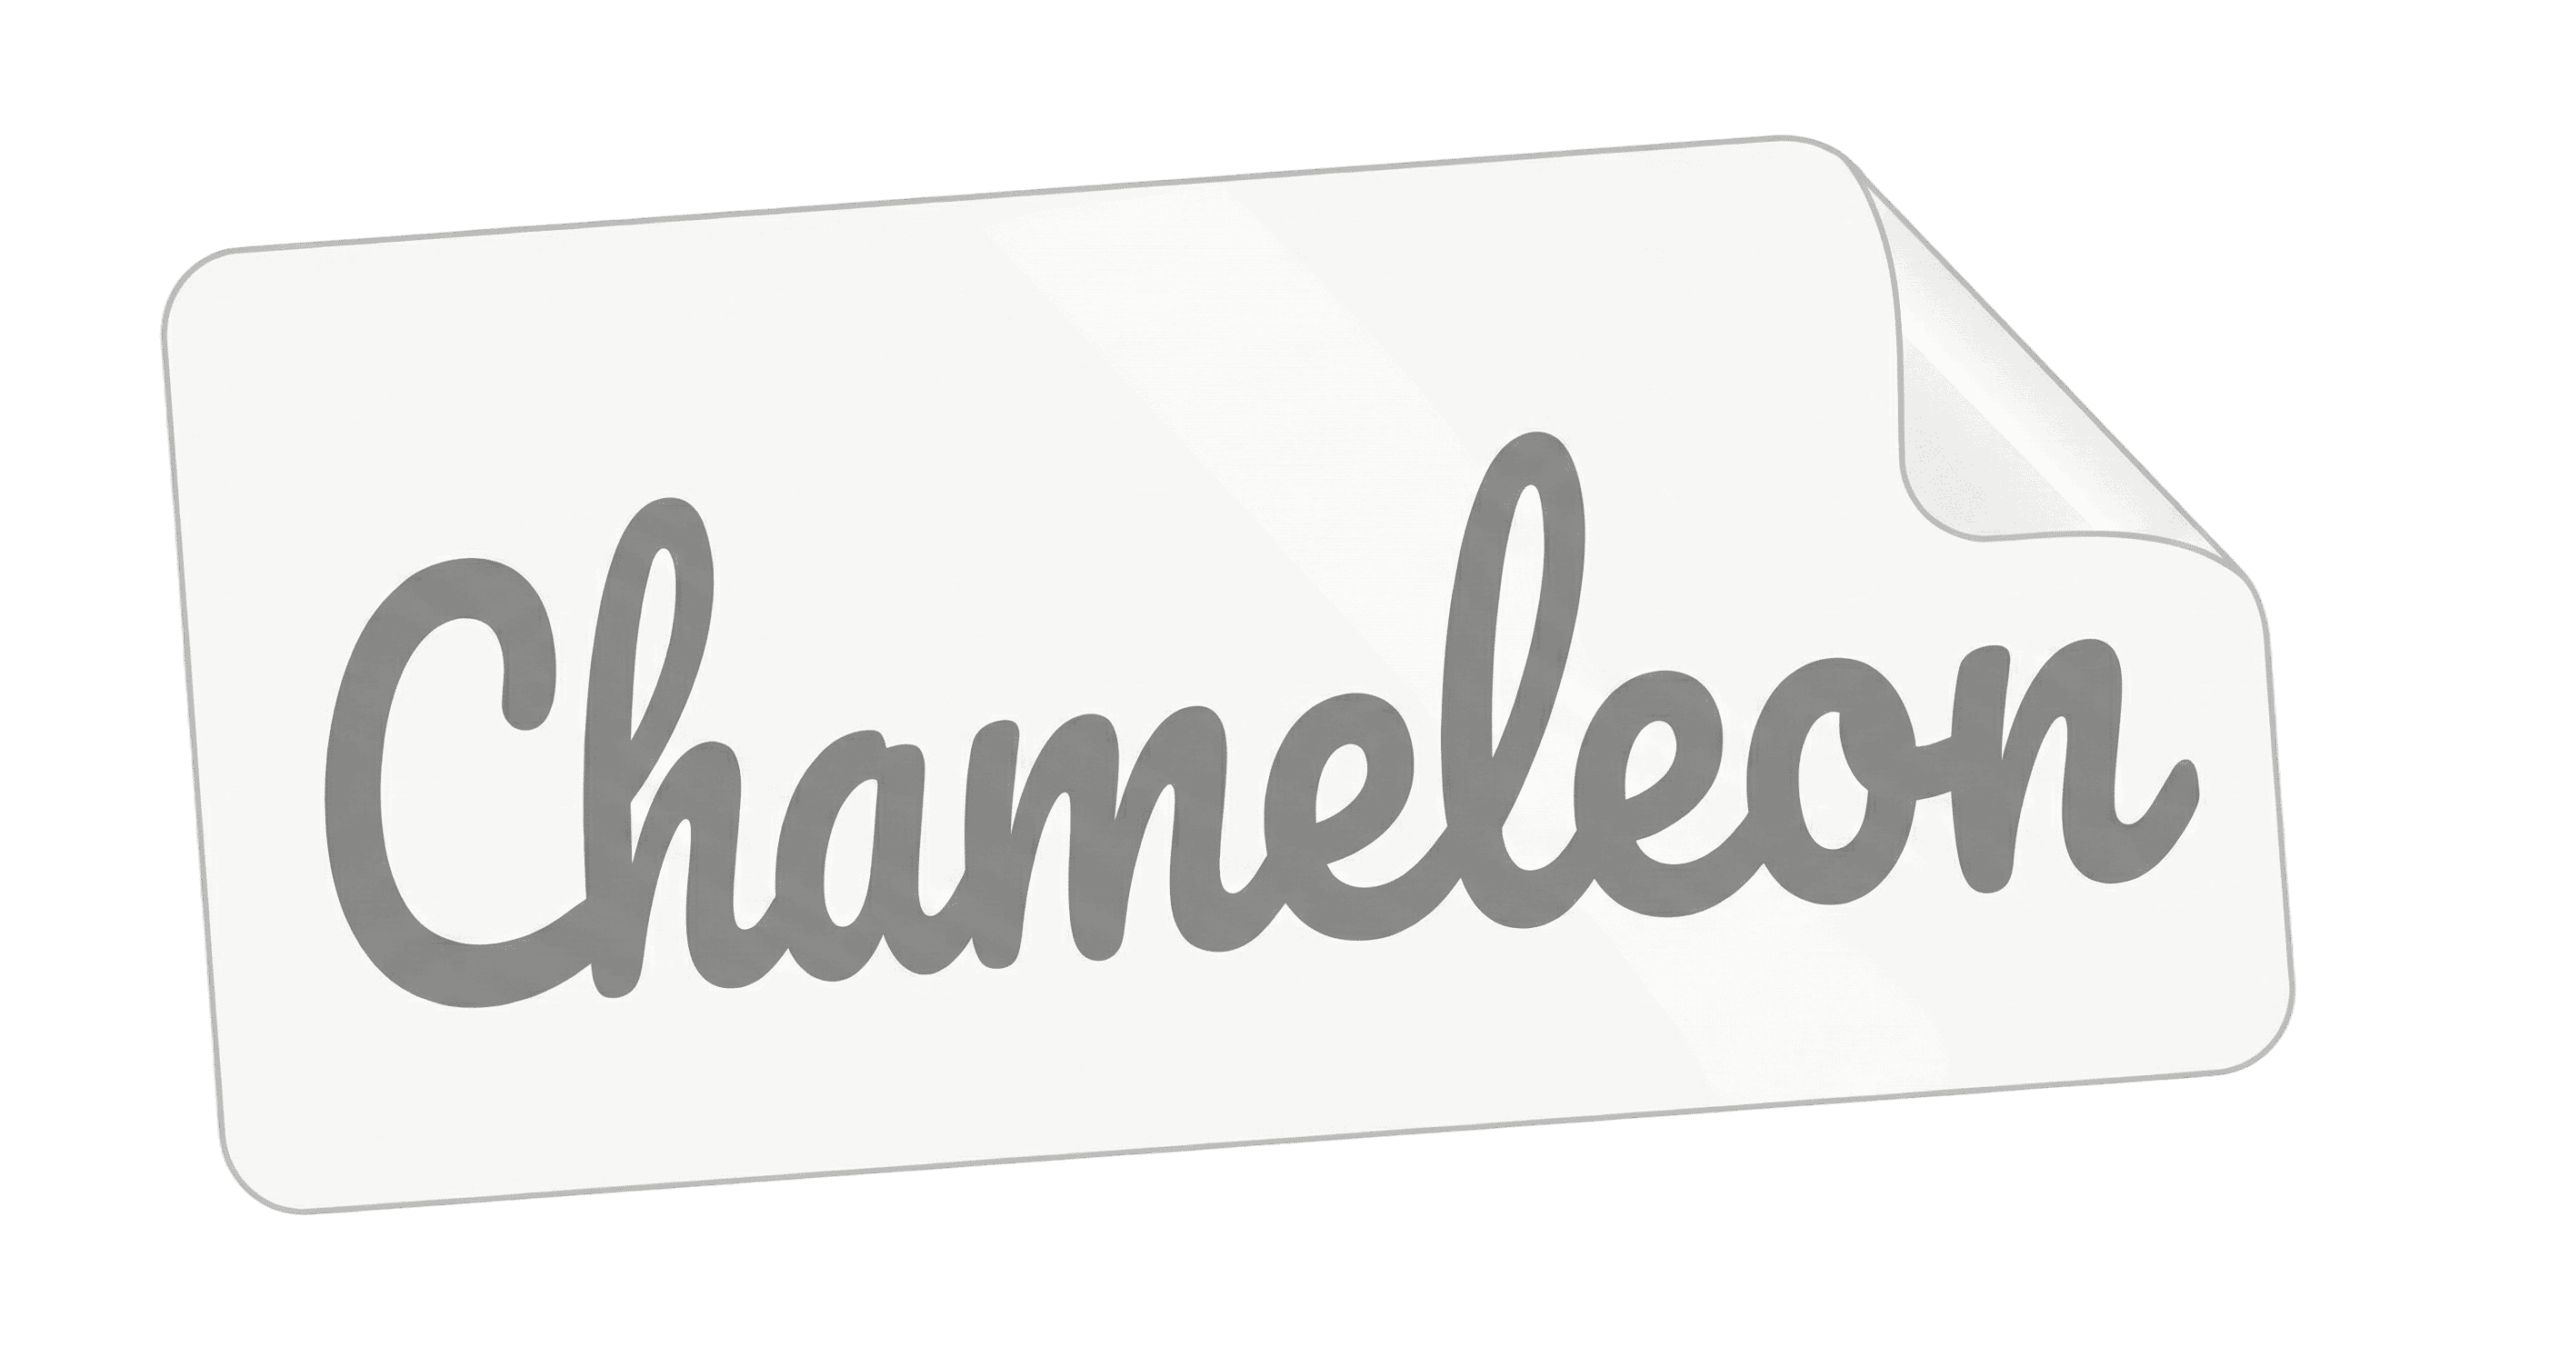
- Remove the Backing: Carefully begin to peel the backing paper (the thicker, opaque part) slowly from a top corner. Make sure the vinyl stays adhered to the clear transfer paper. If any part of the vinyl doesn’t peel off, press that section down again with your squeegee and try again. As shown in the image, lift a corner and peel the backing at a low, consistent angle.

- Apply to the Wall: Once the backing is completely removed, carefully place the decal onto the wall. Starting from the top, use the squeegee to press the decal firmly onto the wall, working your way from the center outwards to smooth out any air bubbles.


- Remove the Transfer Paper: After the decal is securely on the wall, slowly and carefully peel off the clear transfer paper at a sharp angle. If any part of the vinyl lifts, press it back down with your finger or the squeegee and continue peeling slowly.

- Final Touches: Admire your new wall decal! If you notice any small bubbles, you can gently smooth them out with your fingers or a soft cloth.
Good to know

Some of our wall decals skip the transfer tape.
Not every decal in our shop follows the three steps above. A growing part of our wall art line is printed on a premium 6‑mil semi‑rigid vinyl — about three times thicker than the standard cast vinyl most stores use — and it works without transfer tape at all.
Because the material is thicker and holds its shape, you can peel each piece right off the backing and place it directly on the wall with your hand. The adhesive is high‑tack but removable, designed specifically for smooth, painted interior walls.
Look for the “peel & stick — no transfer tape” badge on the product page. Application is even simpler — just position, smooth, and you’re done.
A quick two‑person tip: if your semi‑rigid decal is large (over ~24 inches in any direction), grab a helper. One person aligns and presses the top edge while the other peels the backing away below — the material is rigid enough that it can crease if it folds onto itself while you’re working solo.
Standard decal
Cast vinyl · ~2 mil
Thin and flexible. Needs transfer tape to lift the design off the backing and onto the wall. Follow the three‑step method above.
Premium decal
Semi‑rigid vinyl · 6 mil
Three times thicker and rigid enough to handle on its own. Just peel and stick — no transfer tape, no air bubbles, no fuss.